Graphic file formats enable the exchange of 3D models between applications. These formats also allow for the transmission of models across the internet. Import your Autodesk 3ds Max glTF files to p3d.in and display them online in seconds.
What are the differences between FBX and glTF files, and which 3D file format fits best into your workflow? You can use FBX when transferring data to game engines like Unity or Unreal Engine, or between 3D tools like Clara.io, Maya, or 3DS Max.
The glTF format is ideal if you want to share 3D scene data with remote applications in augmented reality. It's also better if you're going to transmit your 3D scene data over the internet for viewing in a remote application, such as for augmented reality purposes.
3ds Max (also known as "3D Studio Max") is a 3D modeling, animation, and rendering software that takes advantage of the powerful functionality of Autodesk Inventor software to streamline design, visualization, and construction processes.
Autodesk 3ds Max is quite versatile, and has the capability to create 3D web embeds and iframe 3D models optimized for upload on p3d.in and for other Augmented Reality (AR) applications.
This powerful 3D modeling and animation software is used to create high-quality content for games, TV shows, movies, and more.
Autodesk 3ds Max is a versatile tool for 3D modeling and animation and that reflects on its interface. The interface can be quite intimidating for starters, but it is designed to ensure efficient workflow, and for easy access to all the important tools needed for modeling and animation.
Upon launching Autodesk 3ds Max, you are immediately welcomed with a page consisting of numerous tools grouped into widgets and bars.
- Menu Bar
This is located at the topmost part of the screen and it is where you can find commonly used tools such as "File", "Edit", "Tools", "Help"etc. where there are menus containing different options of commands and tools used for creating and modifying 3D models.
- Main Toolbar
Right below the "Menu Bar" is the "Main Toolbar" which provides quick access to tools and dialogs commonly used such as "Undo" and "Redo", "Move", "Rotate" and "Scale" used for navigating around different axis and planes of your 3D model, "Material Editor", "Render Dialog" and so on.
- Modeling Ribbon
Right below the "Main Toolbar" is the "Modeling Ribbon" where you will find all the tools needed for polygon modeling. The menu items on the Modeling Ribbon can be collapsed to reveal more options under each menu item.
- Command Panel
By default, this is located at the right-hand side of the screen where you can access most of Autodesk 3ds Max's functionality including many of the commands found in the "Main Toolbar" and "Modeling Ribbon". The Command Panel consists of 6 tabs: "Create", "Modify", "Hierarchy", "Motion", "Display" and "Utilities" represented by icons. The tools here are majorly used to create and modify geometry, and animate 3D models.
- Viewport
The Viewport is at the center of the screen. This is the working area where you can view and manipulate your scene in 3 dimensional space. There are four (4) Viewports visible on the main screen and each showing the view of your 3D model from different angles.
- Scene Explorer
The Screen Explorer is located at the left side of the screen. This panel is mostly used to control the view of the 3D objects in your scene, filter, sort, select and edit their properties. This is also where you can delete, freeze and rename objects.
- Viewport Layout
To the left part of the "Scene Explorer" is the Viewport Layout where you can easily change to different Viewport layouts available.
- Animation & Timeline Bar
"Animation and Timeline Bar" is located at the bottom of the screen. This bar contains different buttons and controls to animate your 3D models and control playback settings.
At the moment, Autodesk 3ds Max does not support glb/glTF file export format. The use of third-party file format conversion platform such as babylon.js are used to convert .obj files to .glb
To export your 3D model for conversion on babylon.js, you must first install the Babylon plugin for 3ds Max.
After installing the plugin, navigate to the "Menu Bar" and click on "File" then "Export". From here, you can select the format to export your 3D model based on your need. Select "gltf" as output format or choose "glb" to export your 3D model to a single .glb file.
The resulting glTF (.gltf or .glb files) provides an easy way for uploading your content to p3d.in for easy sharing, web embedding or otherwise sharing your content with the world. p3d.in also provides easy ways to tweak your glTF model after uploading and you can add camera animations, annotations and other interactive features independently of C4D after upload.
As mentioned above, there are some restrictions on the export of the glTF format. You can export transparent plastic material by using the diffuse color only.
When you export a glTF model from this application, you can import it into any other application that supports the glTF format, such as the p3d.in 3D model hosting and visualization framework.
Ready to export your model? Click File, then export. Choose a file type from the dropdown menu, give it a name and location, and click Save.
Unit size: If a scene is not utilizing scene units, it is best to set the unit size because it tells the program how big your geometry should be in real-life measurements.
The texture resolution in dpi: Texture resolution in dots per inch (dpi) varies for each part. The higher the dpi, the crisper your textures will be. However, your file size will also increase if you use a large dpi.
Ambient occlusion: The baked texture will include it when you turn on ambient occlusion.
Use Draco to compress the geometry: Compressing a scene using Draco will significantly reduce the file size of the geometry but will not affect texture quality.
The number of samples: A low value will result in an image containing excessive amounts of noise. Raising the value of a commodity increases its time to export it.
Please choose only one option (Geometry Nodes or Textures): It is impossible to apply both Geometry nodes (bubbles, flakes, displacement) and textures on a single part. This decision will determine whether you prioritize the effects of one type over another.
To upload your 3D model on p3d.in, you can either place your .obj file, .mtl and all texture files used into a single ZIP folder, or select the files together with all texture files used (.png, .jpg, .gif) when loading them onto the interactive viewer on p3d.in. The .obj file contains all the geometry data of your 3D model, and the .mtl file format contains the material details of your 3D model.
Other p3d.in supported file formats are: GL Transmission Format .gltf/.glb, FBX (Filmbox) .fbx and STL format (.stl).
p3d.in is a platform where you can instantly share your 3D models online and in Augmented Reality (AR) in real-time.
To export your 3D model as .obj file on Autodesk 3ds Max, navigate to the "Menu Bar" and click on "File" then "Export" then "Save as Type" and select "gw::OBJ-Exporter (*.OBJ)" from the list, name the file and choose a desired file location to save it. To export your model as .fbx, follow the same step as described above and choose ".fbx" in the file format options presented after clicking on "Save as Type".
Now that your 3D model has been exported, you can go ahead and upload it on p3d.in
Autodesk introduced two new viewports for 3ds Max, allowing users to rearrange the viewport. These viewpoints are free camera and free pivot. You can use these views to see better parts of your model that you would otherwise have difficulty seeing.
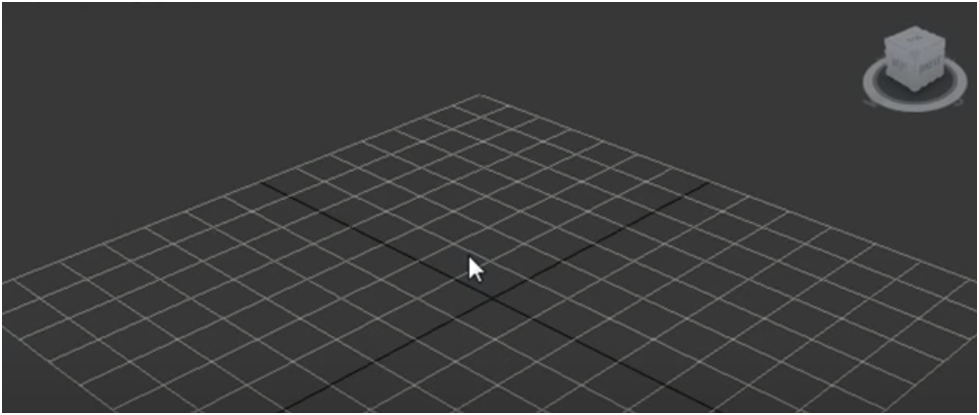
The viewport is the main window of Autodesk, and it's the first screen you see every time you start 3ds Max. The viewport shows the mesh in 3D. You can change how you view it and resize it. You can also move it around in different ways by using the Viewport Navigator.

Go ahead and click the teapot and make sure you have selected your object.
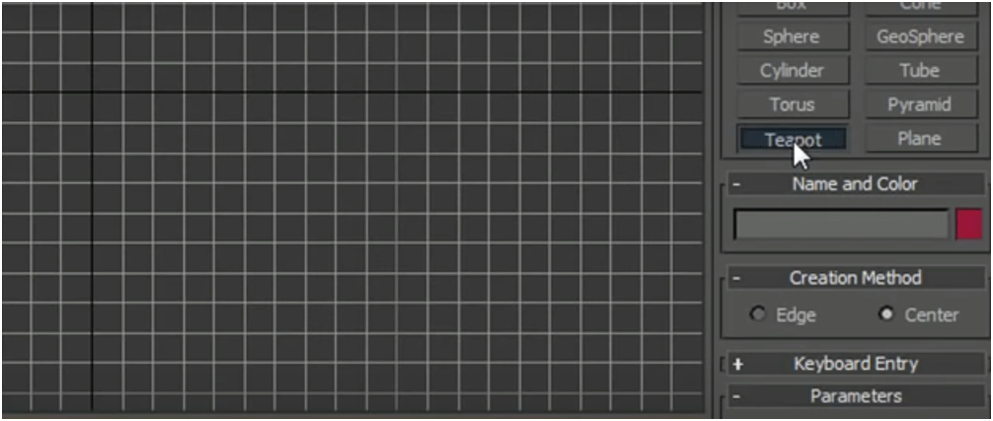
Once you've selected the teapot, go ahead and click the middle of your perspective viewport.
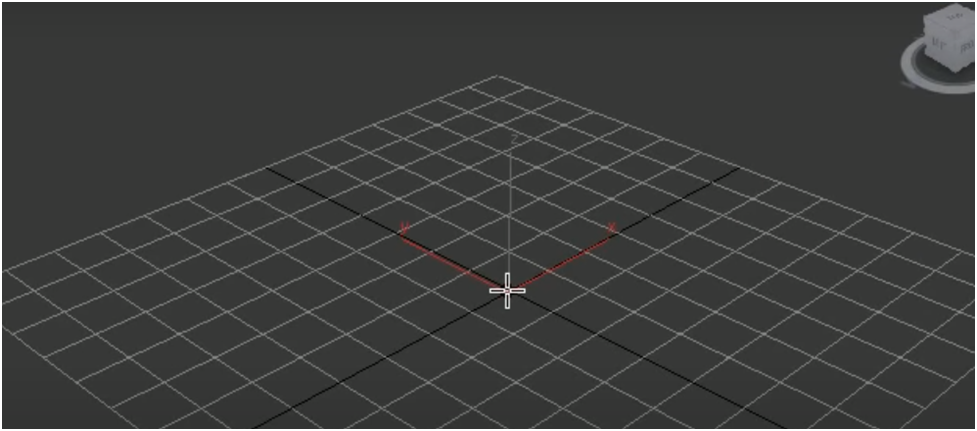
To create a teapot, drag the teapot object onto the working plane. The more you drag an object outward, the larger the object becomes.
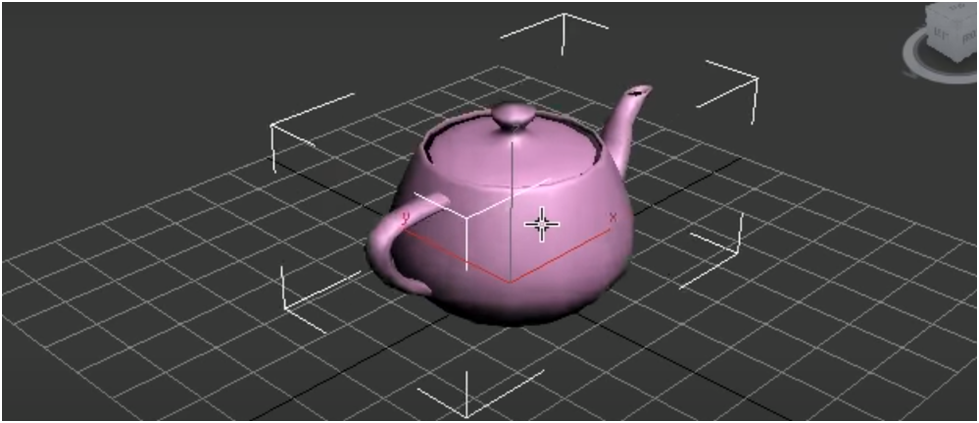
In 3D modeling, reference views help you visualize the relative positions of objects in a scene. The standard reference views are Top, Front, Left, and Perspective. You can customize Perspective to a custom view of your choosing.
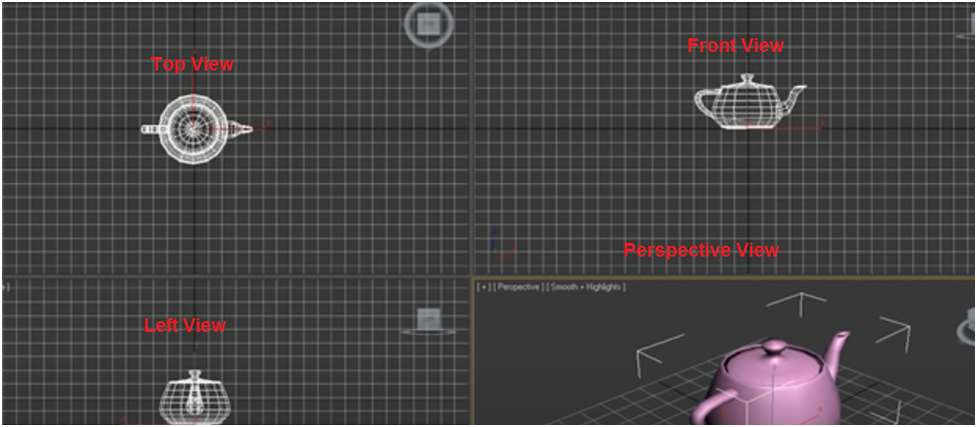
The ViewCube is a tool you will use to move around your 3D model in ways that resemble how you move around the real world. You can use the ViewCube to adjust your view in any direction, as you would if you were standing in front of an object in real life.
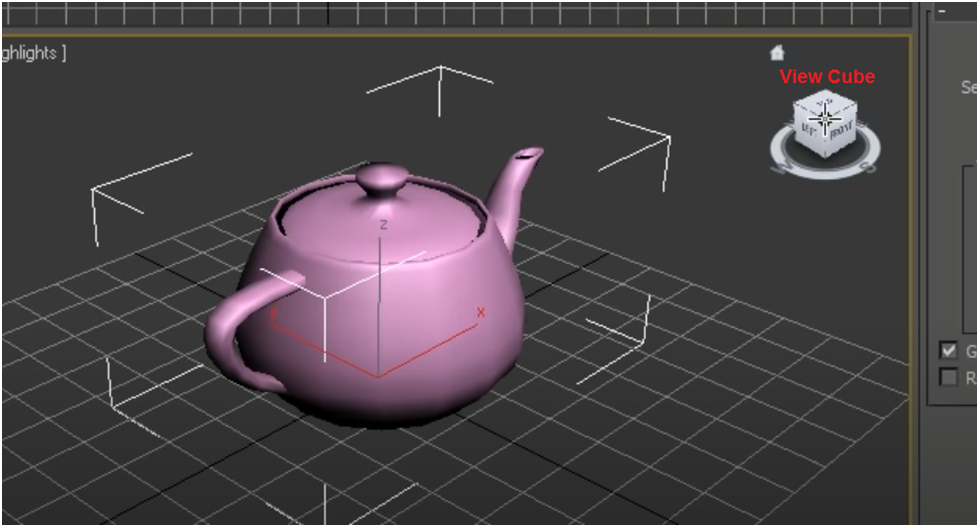
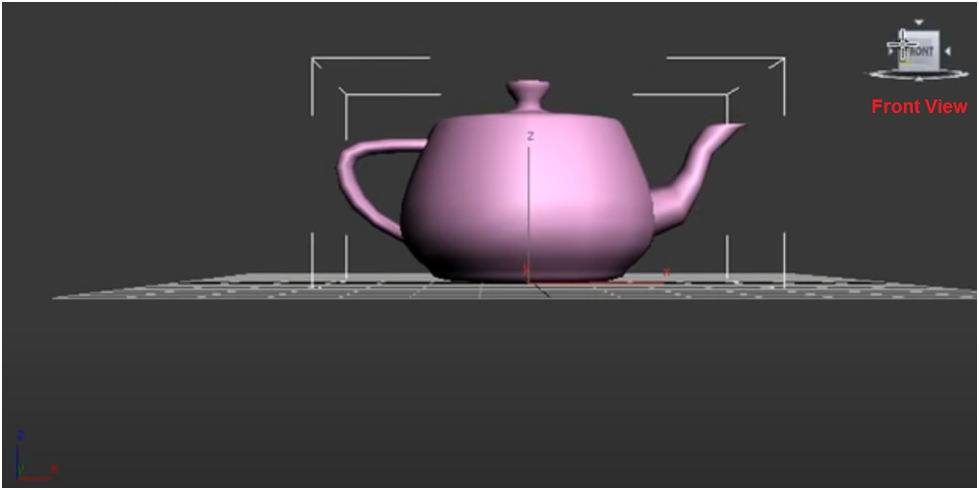
The viewport displays the view in three axes: right angles. You can click front, left, or top on the view cube to change which axis it shows.
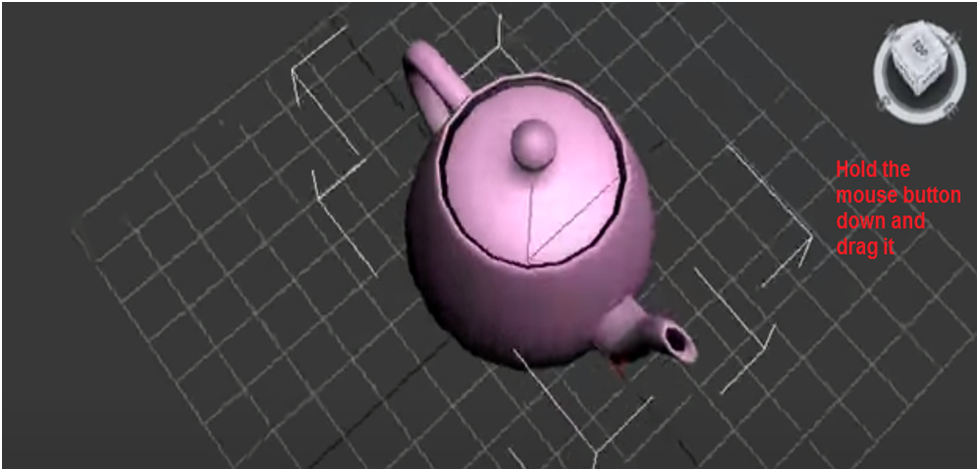
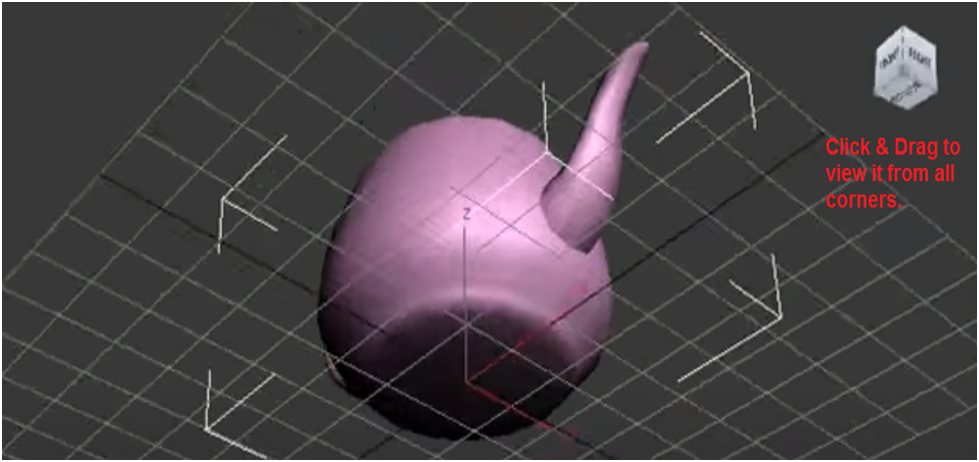
You can also rotate your view to a custom position by holding the mouse button down on the ViewCube and dragging it in any direction.
If you don't wish to move upward or downward when rotating the view, click the circle on the viewport's right. When you scroll the mouse wheel up or down or left, and right, it changes views.
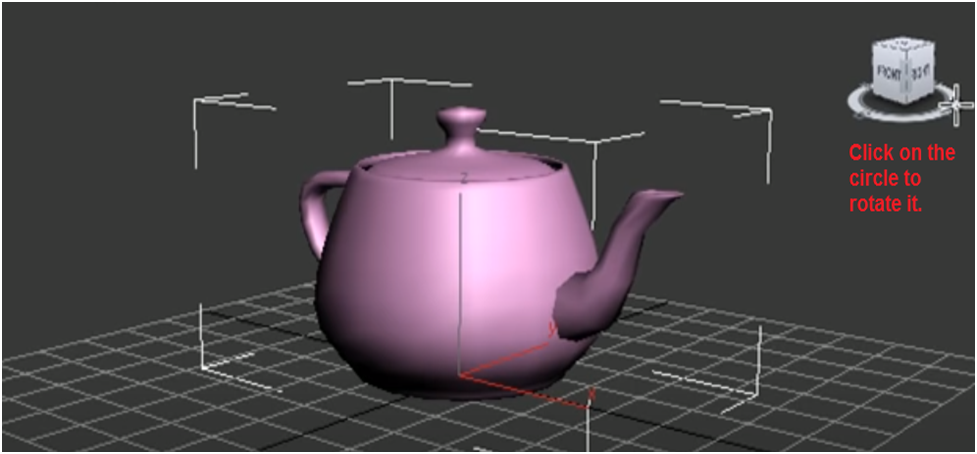
To rotate the object in 3D space, right-click the center and drag.
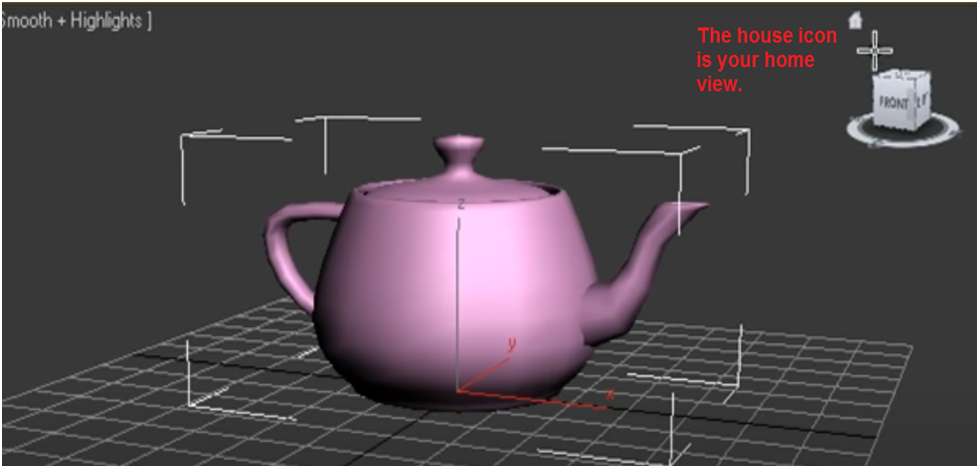
Besides the viewports, the home view also includes a model house in the top left corner. The model house serves as an icon that returns you to your default perspective. To access the home view, click on the house.
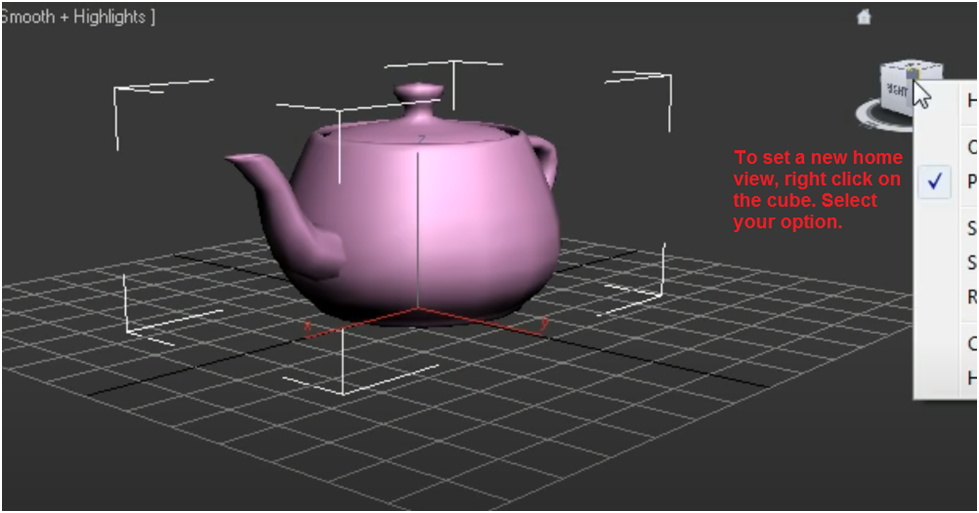
Any time you want to take a new look at your model from a different angle, you can right-click your view Cube and select Set Current View as Home. This view will be home, and any time you don't want to get this view, uncheck it.
You can customize the visibility of each plane of the view cube too. To access this feature, go to Customize > Views > View Cube > Configure, and then select the planes you wish to be visible in the view cube.
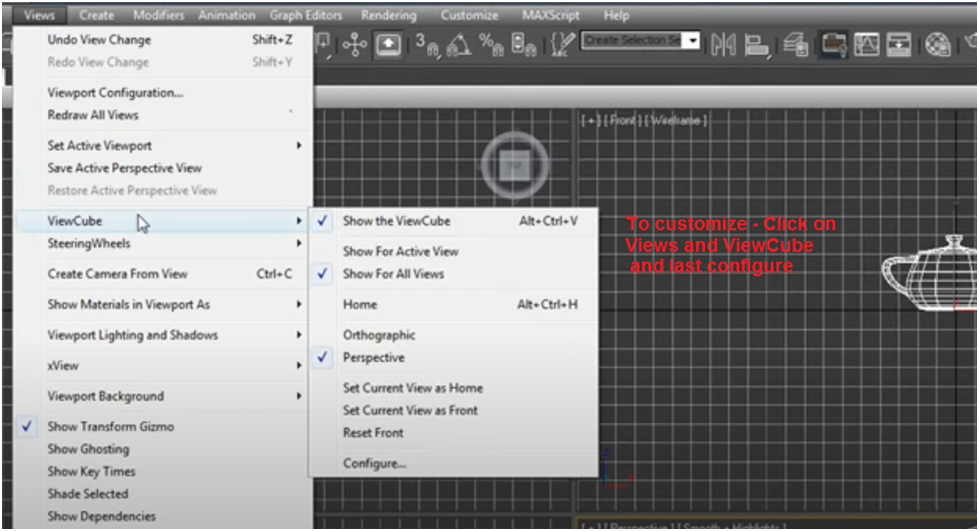
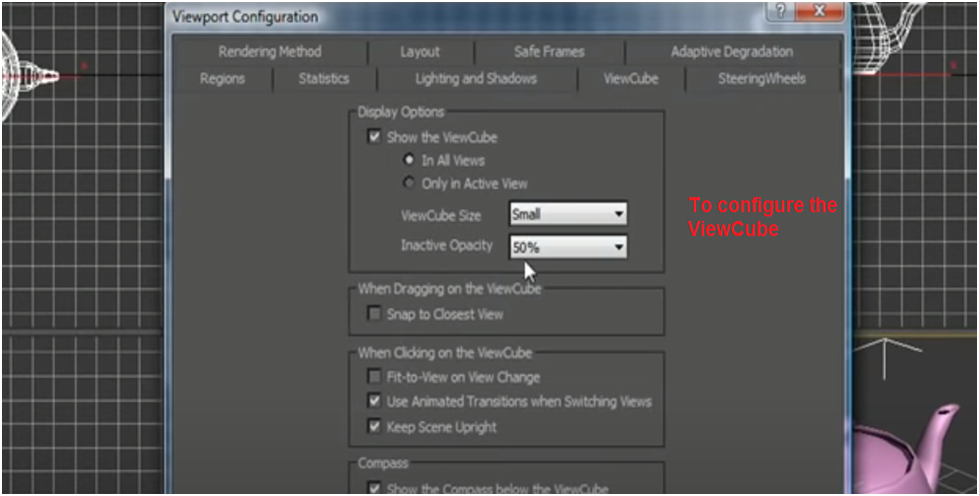
The view cube is a visual navigation aid that displays the current view in 3-D space. You configure the view cycle and the size of the view cube's opacity. To customize the view cube further, go to View, View Cycle, Configure.
The Steering Wheel tool is a way to change the view of your scene. To use it, go to view, Steering Wheel and click or tap Toggle Steering Wheels.
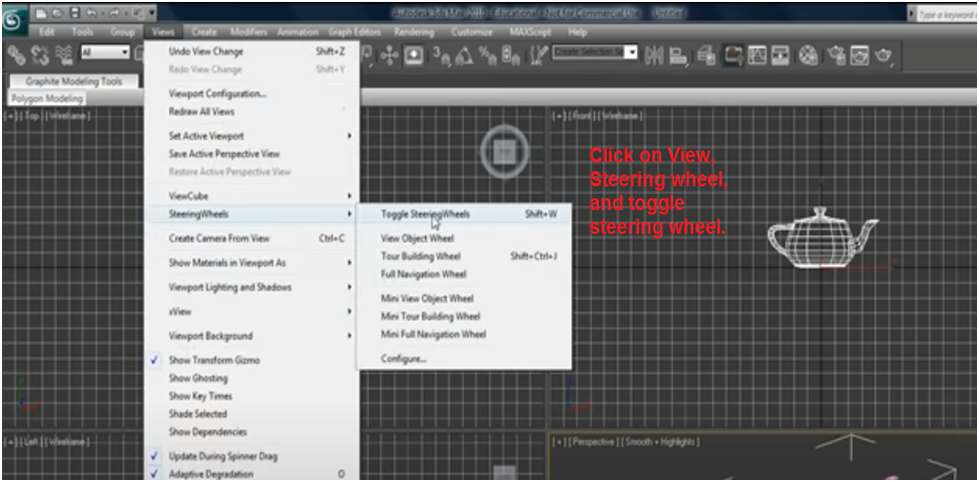
The Steering Wheel is another method for accessing tools in Autodesk 3ds Max. You can access it with the Shift+W on a PC or the Shift+W on a Mac.
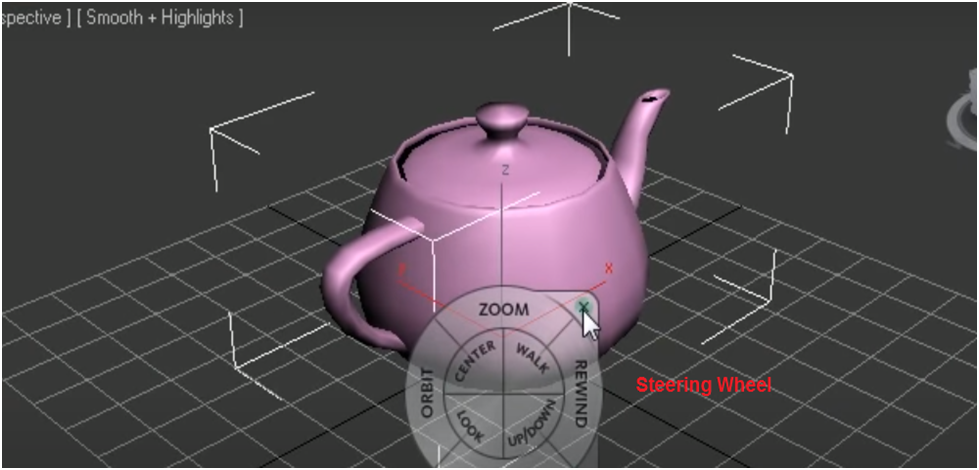
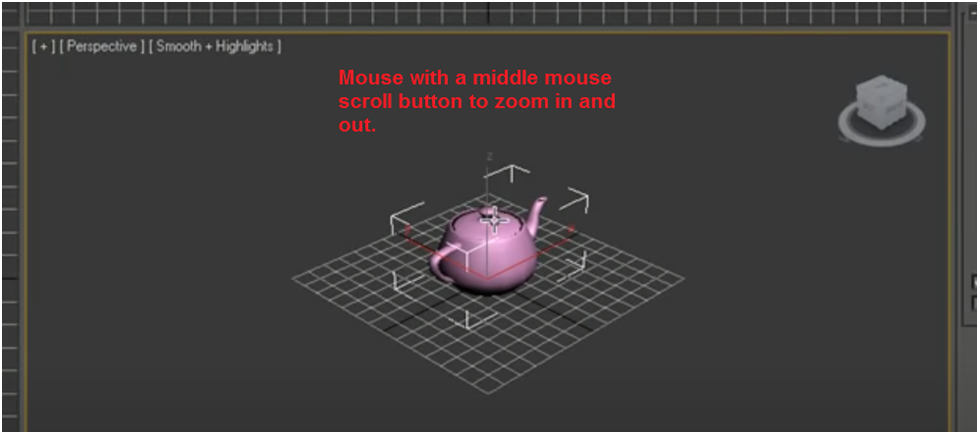
Autodesk allows you to zoom in and out of your design by clicking the Zoom tool. Move the cursor over the drawing, and click+drag up or down to zoom in or out.
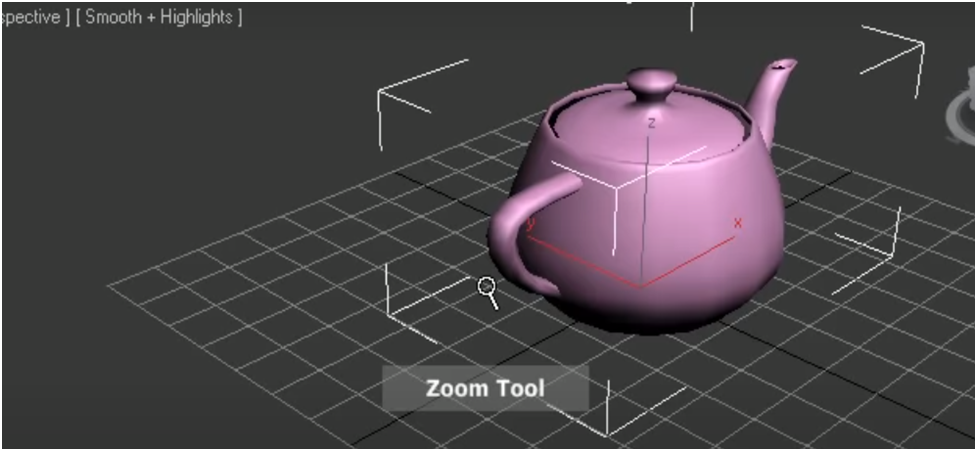
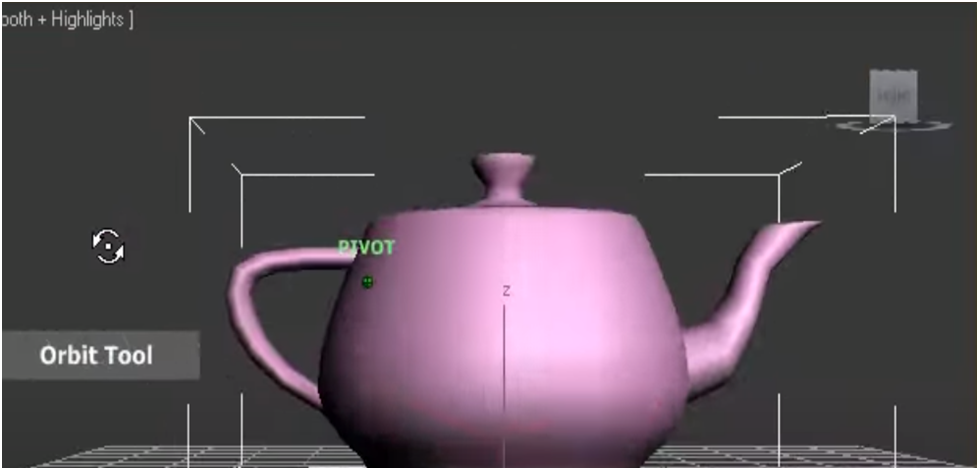
When modeling in 3ds Max, you can orbit around the pivot point of an object to view it from different angles.
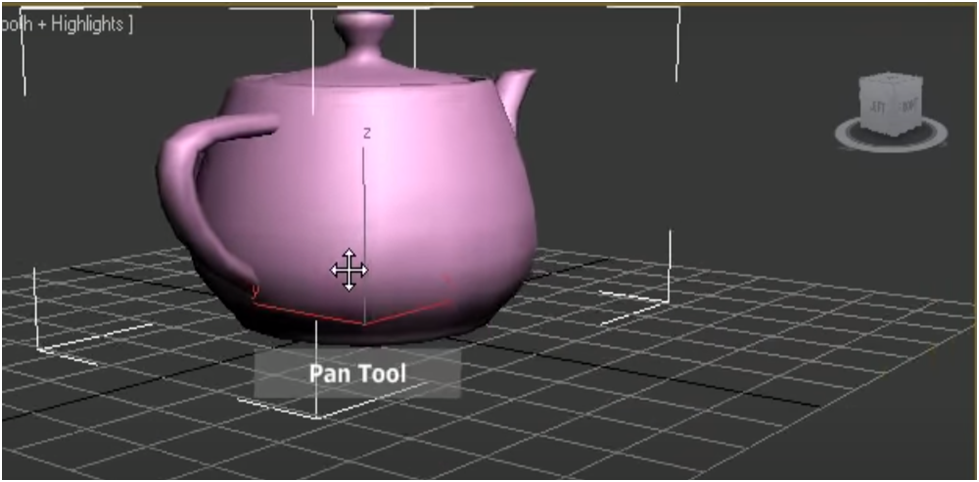
You can move the 3D Viewer in any viewport by holding down the right mouse button on the 2D Viewer and dragging to pan.
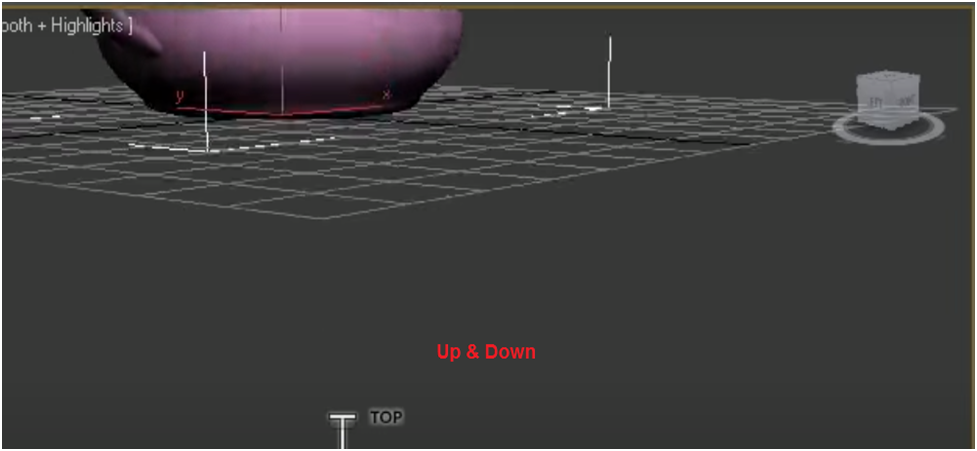
You can see more and create a wider shot by moving the camera up or down.
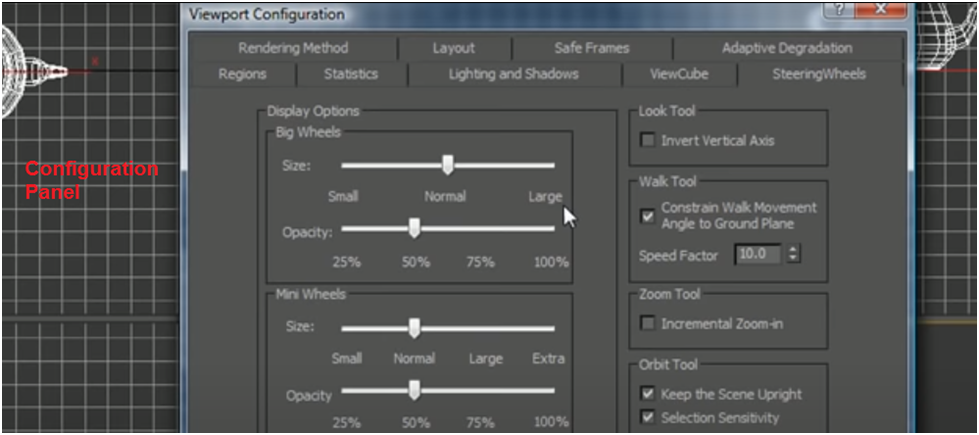
To use a steering wheel view, go to Views > Configure Viewport Configurations > Steering Wheel.
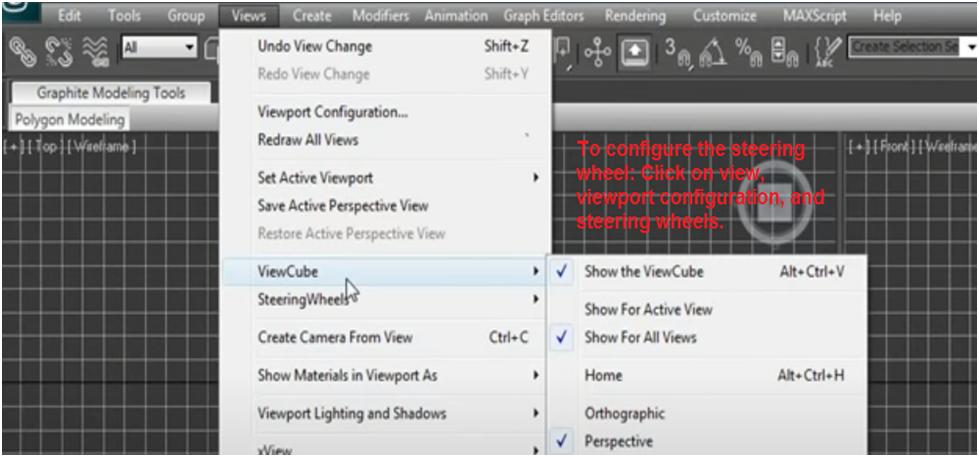
Customize your steering wheel by clicking the steering wheel in the viewport. The steering wheel allows you more control if you want to customize the rest of your steering wheel.
How easy is that? You don't have to click anything. You move your finger a little to pan your object, like moving a piece of paper.
If you click on the middle button, the scroll wheel moves the view in any direction and dragging pans the scene while clicking and dragging zooms in and out.
You can rotate the view of your model by pressing the Alt+Tab keys on your keyboard. If you hold down the Alt, Shift, and Control keys on your keyboard and click Interact, you will be able to rotate your model.
Like other 3D objects, you can rotate a camera as if you were panning. You can do this by left-clicking and dragging the mouse. You can also zoom in and out of a view while rotating the camera with the middle mouse wheel. If you try to click and drag, it turns your camera and zooms, making it even easier to control.
In this tutorial, we intended to shed light on the basics of creating glTF 3D packages using Autodesk 3ds Max, a very popular package for the development and rendering of-among others-3D objects.
Our 3D model hosting platform, p3d.in, lets you view your data in virtual reality, and it supports the Autodesk 3ds Max glTF file format. We hope that these basics will aid those new to this software application in this 3D world.